")
I painted my bedroom for the first time using paint I bought at a discount store and brushes from a convenience store.
The paint was three years old. The brushes were the ones that come in a plastic package with approximately ten bristles total. The results looked like a five-year-old had been handed a brush and told to decorate.
Not the paint’s fault. Not even entirely the brushes’ fault. Mostly my fault for not understanding that painting isn’t actually that hard — it just requires supplies that actually work.
I spent a month avoiding looking at my bedroom walls.
Then I painted it again with actual supplies and it took four hours instead of an entire Saturday and looked intentional rather than chaotic.
That’s when I learned the rule: bad paint and brushes make everything harder. Good paint and brushes make it easy.
What First-Time Painters Actually Get Wrong
Most people think the paint is the main investment. It’s not. The paint is maybe 30% of the equation. The brush and roller are 40%. The primer is 20%. Your technique is 10%.
You can have great paint but use a bad brush and it looks bad. You can have okay paint but use a great brush and it looks good. The brush matters more than people think.
Also, primer matters. If you’re painting over dark color or a shiny finish, primer makes the difference between “I can see the old color through this” and “this looks like a new wall.”
Most first-time painters skip primer because they don’t want to buy extra product. Then they paint three coats trying to cover the old color. Could have painted once over primer and been done.
1: Paint (Quality Brand, Right Color, Correct Type)
Best for: Covering walls in color you want | Why you need it: Bad paint makes everything harder | Budget: $20-30/gallon | Better option: $35-45/gallon
This is where most people make mistakes.
Cheap paint (the $15/gallon stuff) has less pigment and lower quality binders. It requires more coats to cover. It doesn’t stick as well. It spreads unevenly. You end up using more paint doing more coats than if you’d bought better paint and done fewer coats.
What to check: paint type (latex/acrylic for most walls), finish (flat/matte for bedrooms, satin for kitchens/bathrooms), actual color (get a sample, test on wall, it looks different on your wall than on the paint chip).
Budget option: $20-30/gallon from a basic brand. Works, needs multiple coats.
Better option: $35-45/gallon from a quality brand. One or two coats covers. Better finish.
For my second bedroom paint job, I spent $40/gallon on decent paint. Painted once. Done. The first bedroom I spent $25/gallon on cheap paint and painted three times.
2: Primer (Essential, Not Optional)
Best for: Covering old color, shiny finishes, stains | Why you need it: Skipping primer means extra paint coats | Budget: $15-25/gallon | Better option: $25-35/gallon
The product that first-time painters skip because they don’t understand it.
Primer is designed to stick to difficult surfaces and create a blank slate for paint. If you’re painting over dark color, primer prevents the old color from showing through. If you’re painting over glossy finish, primer helps the paint stick.
Skipping primer might save $20 but costs you time and extra paint coats. Not worth it.
What to check: primer type matches your paint (latex primer for latex paint), coverage matches your wall condition.
Budget option: $15-25/gallon of basic primer. Works, but sometimes doesn’t hide dark colors completely.
Better option: $25-35/gallon of quality primer. Hides dark colors better, covers more evenly.
I learned this the hard way. Primer is not optional. Buy it.
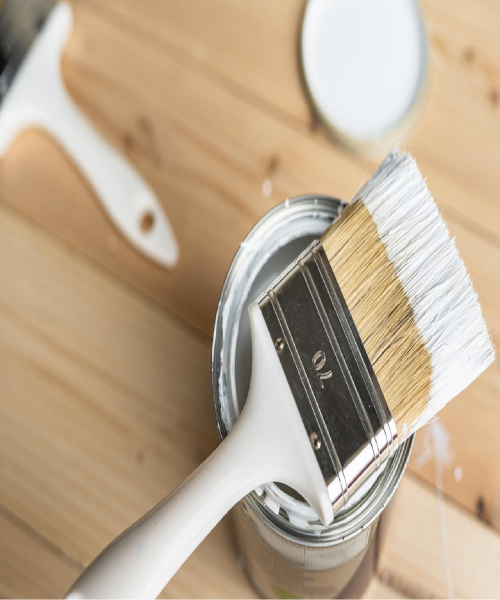
3: Paint Brush (Quality Bristles, Correct Size)
Best for: Edges, trim, careful work | Why you need it: Bad brush leaves bristles in paint | Budget: $8-15 for good brush | Better option: $15-25 for quality brush
The tool that makes the most visual difference.
A cheap brush sheds bristles into the paint. A quality brush applies smoothly and the bristles stay where they’re supposed to be. This is where tool quality shows immediately.
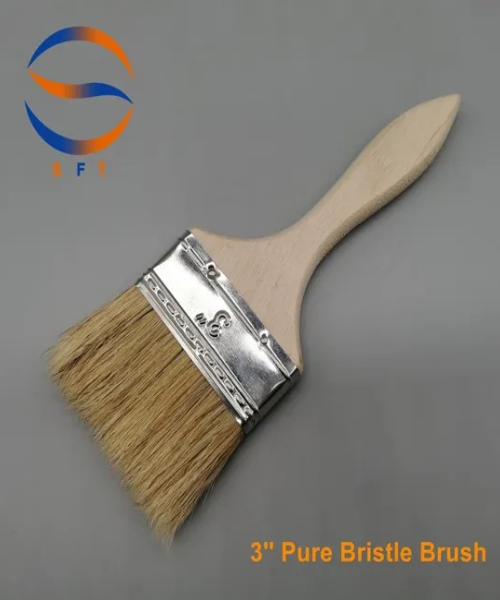
For latex paint (which is what most people use), get a synthetic bristle brush. The bristles should feel soft but substantial.
What to check: natural bristles if using oil-based paint, synthetic bristles if using latex, comfortable handle, bristles that don’t fall out when you run your hand over them.
Budget option: $8-12 for a basic brush. Sheds slightly, works.
Better option: $15-25 for a quality brush. No shedding, applies smoothly, lasts longer.
Buy one good brush instead of three cheap ones. One brush that works is better than three that shed.
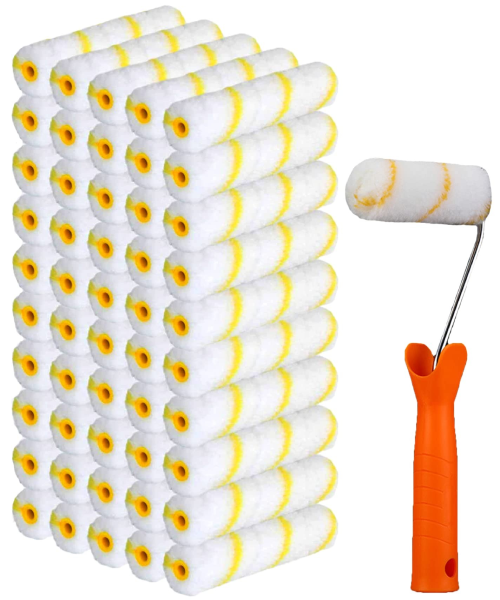
Best for: Large flat areas, the bulk of wall coverage | Why you need it: A brush would take forever for walls | Budget: $10-18 roller and handle | Better option: $20-30 roller and handle
The roller is how you cover walls quickly.
A cheap roller sheds fibers. A quality roller covers smoothly. The difference is noticeable in the final finish.
Nap refers to the roller’s thickness. For smooth drywall, a 3/8-inch nap works. For textured walls, 1/2-inch nap. For rough walls, 3/4-inch nap.
What to check: nap matches your wall texture, roller handle feels comfortable (you’re using this for hours), roller sheds minimally.
Budget option: $10-15 roller and handle. Sheds, works, annoying.
Better option: $20-30 for a quality roller with minimal shedding.
A shed-free roller makes the work pleasant. A shedding roller makes you want to stop painting.
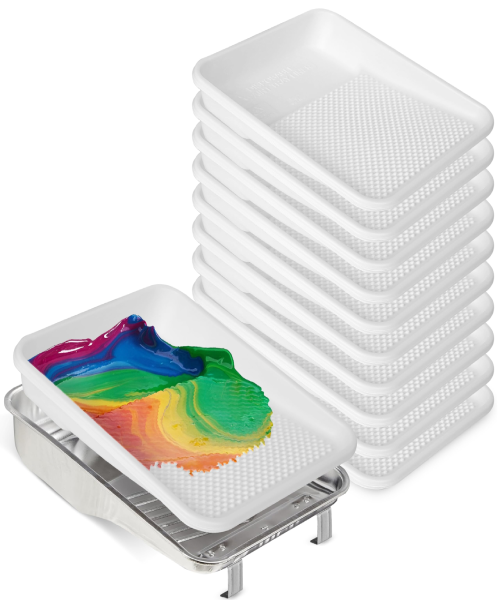
Best for: Holding paint, loading roller | Why you need it: You need somewhere to hold the paint | Budget: $5-10 with liners | Better option: $15-25 with good liners
The overlooked part of the setup.
A paint tray is necessary. You pour paint in it, load your roller, and paint. The cleanup is annoying if you don’t use liners.
Disposable liners are a small convenience that’s worth the cost. Pour paint in lined tray, paint, throw away liner, tray is clean.
What to check: liners fit the tray, tray handles are comfortable (you’re holding this the whole time).
Budget option: $5-8 tray with cheap liners. Liners sometimes rip.
Better option: $15-25 for a quality tray with durable liners.
This is where I’d splurge on liners. Cleanup is 10% of painting effort and good liners reduce it significantly.
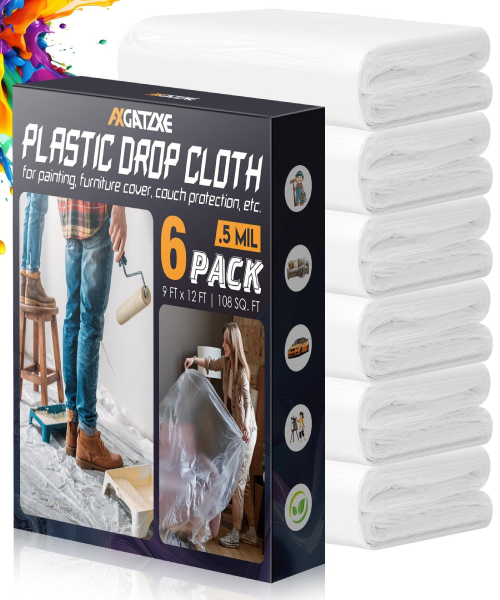
Best for: Protecting floors and trim from paint | Why you need it: Paint drips happen | Budget: $8-15 total | Better option: $15-25 total
The prevention tool everyone skips until they regret it.
A drop cloth protects your floors. Painter’s tape protects trim, baseboards, and adjacent walls. Both are essential and prevent hours of cleanup.
What to check: drop cloth is substantial (thin ones let paint through), painter’s tape sticks without leaving residue.
Budget option: $8-12 total for basic cloth and tape. Works, might not completely prevent drips.
Better option: $15-25 for quality drop cloth and tape. Actually prevents messes.
The money you save on cheap tape is lost when you spend an hour scraping dried paint off baseboards.
Budget Kit vs Premium Kit
Budget Kit ($60-85 total for one room):
- Cheap paint ($25)
- Basic primer ($18)
- Budget brush ($10)
- Budget roller ($12)
- Basic tray and liners ($8)
- Cheap tape and cloth ($8)
This works. Requires more effort. Results look decent.
Better Kit ($100-140 total):
- Quality paint ($40)
- Good primer ($30)
- Quality brush ($18)
- Quality roller ($25)
- Good tray and liners ($20)
- Good tape and cloth ($20)
This makes painting feel like you know what you’re doing. Results look intentional.
My recommendation: buy the better kit. Painting is visible in your home every single day. Spending $40 more to make it look good is worth it.
Common First-Timer Mistakes
Buying the cheapest paint. Bad paint means extra coats. Extra coats mean more time and more paint used. Save money by buying decent paint, not cheap paint.
Skipping primer. Primer seems unnecessary. It’s not. One coat of primer + one coat of paint is faster than three coats of paint.
Using the brush that came in the plastic package. Those brushes are included with paint as a joke. They’re not tools, they’re torture devices. Buy an actual brush.
Not testing the color first. Paint colors look completely different on your wall than they do on the paint chip. Get a sample and test it.
Not taping edges. Painter’s tape costs $5. Cleaning paint off trim costs an hour of your time. Tape the edges.
Painting in bad lighting. Paint in natural light if possible so you can see what you’re actually doing.
FAQs
Can I use old paint from a can that's been sitting around?
If it’s been sealed, maybe. If it’s been open or sat for years, probably not. Old paint separates and doesn’t apply smoothly. Start with fresh paint.
How much paint do I need?
One gallon covers approximately 400 square feet. For a bedroom, one gallon is usually enough. For larger areas, get two.
Do I need primer if the wall is already white?
Depends. If you’re painting white over white, maybe not. If you’re painting a color over white, yes. If the white is glossy, yes.
What finish should I buy?
Flat for bedrooms and living rooms. Satin for kitchens and bathrooms. Semi-gloss for trim. Glossy is too shiny for most home use.
Can I paint without taping?
Technically yes. Practically, tape makes it look professional and prevents drips. Tape.
Final Recommendation
If you’re painting one room for the first time: buy the better kit. The extra cost is worth the better experience and results.
Spend the most on paint and brush. These are where quality shows the most.
Spend a little on primer because skipping it is false economy.
My second bedroom painting experience was infinitely better than the first because I bought supplies that actually worked. It took less time, required fewer coats, and looked intentional rather than chaotic.
Paint is one of the most visible DIY projects in your home. Spending slightly more on supplies that make it look good is money well spent.