
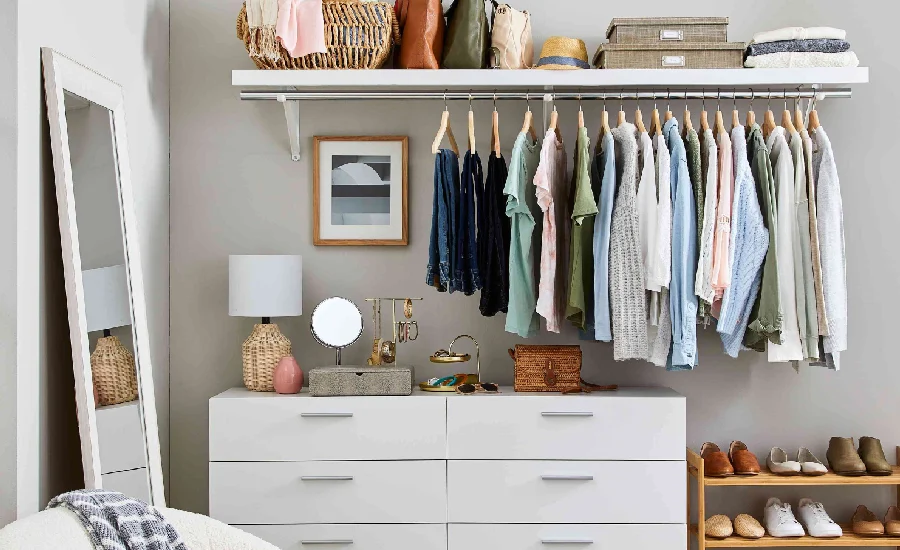
My closet was the kind of chaos that made getting dressed an ordeal.
Everything was jumbled. Clothes were piled on shelves. Shoes were scattered. Hangers were everywhere. I had no idea what I actually owned because everything was tangled. I’d wear the same five outfits because they were accessible and forget about the other 80% of my clothes.
Every morning was “dig through the chaos and grab something.”
Then one weekend I said “I’m fixing this” and spent Saturday actually organizing instead of just moving things around.
It took four hours. Cost $120. Changed how I feel about my space and how I get dressed every single day.
The Before: Closet Chaos
- Clothes piled on shelves
- Shoes scattered on the floor
- Hangers everywhere
- No drawer organization
- Only using 20% of wardrobe
- Getting dressed was stressful
- Couldn’t find anything
- Things fell when I opened the door
What I Wanted to Fix
- Visible clothing so I’d actually wear it
- Shoes organized and accessible
- Clear shelving with categories
- Accessibility without chaos
- Actually using my whole wardrobe
Budget: $150 maximum.
Budget Breakdown
- Hanging organizer (over door): $18
- Shelf dividers: $15
- Drawer organizers: $20
- Shoe storage boxes: $35
- Tension rods (for extra hanging): $12
- Hangers (quality, consistent): $30
- Baskets for accessories: $15
- Miscellaneous: $5
Total: $150
Step 1: Declutter (The Unsexy but Essential Part)
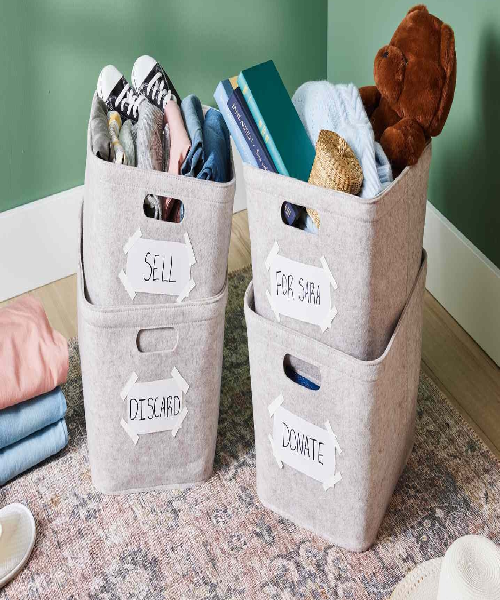
This is where most organization projects fail. You can’t organize chaos. You have to reduce chaos first.
I pulled everything out of the closet. Everything. Every item.
I made three piles: Keep, Donate, Trash.
The Keep pile was shockingly smaller than I expected. Lots of clothes I never wore. Lots of things that didn’t fit. Lots of things I was keeping “just in case.”
I let go of the just-in-case items. Out they went.
By doing this ruthlessly, I reduced the clothing volume by about 30%. Immediately, organization became possible.
What I would do differently: I’d have done this even more ruthlessly. There were still things I didn’t wear.
Step 2: Organize What's Left Into Categories
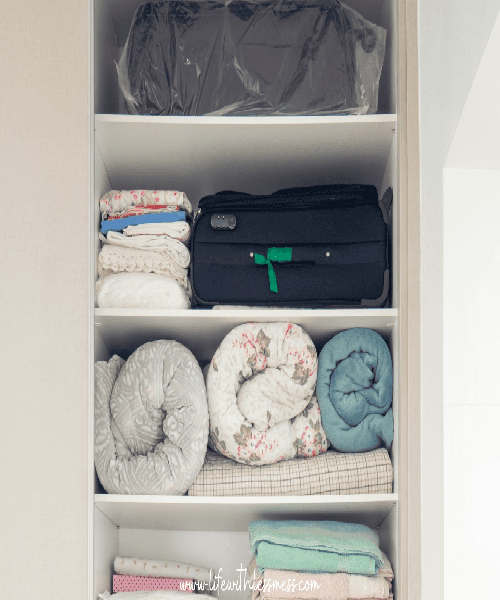
With fewer items, I organized:
- Daily wear (things I wear regularly)
- Work clothes (specific to work, separated)
- Seasonal (things for warm/cold weather)
- Fancy (things for events)
Each category was easier to find because it was grouped. And easier to find meant easier to wear.
Step 3: Install Hanging Space (The Quick Part)
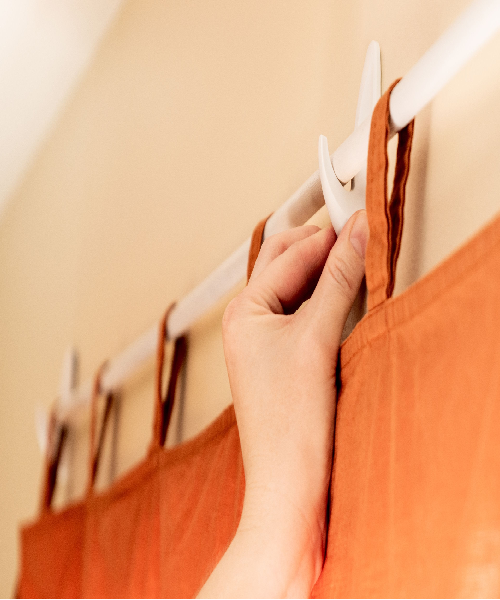
I added tension rods to create extra hanging space. Two rods in one section let me double the hanging capacity without installing anything permanently.
Clothes were immediately visible instead of piled. Visible clothes are worn clothes.
Installation: basically nothing. Tension rods just expand between two sides of the closet.
Step 4: Organize Shelves With Dividers
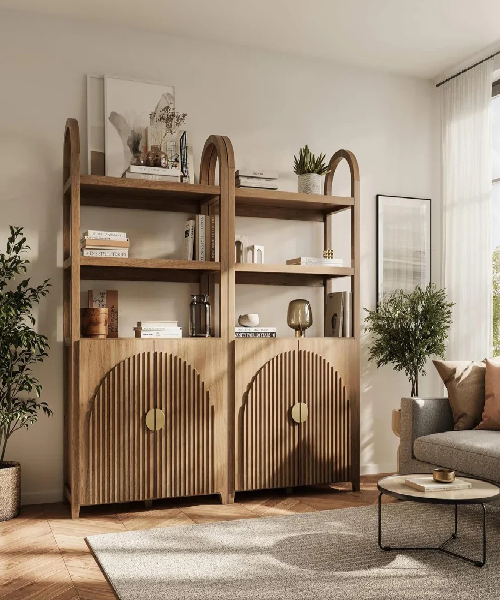
I installed shelf dividers to create sections for folded items. Each section was a category (sweaters, folded pants, etc).
With dividers, folded items didn’t tumble over. With categories, I knew where things were.
Step 5: Shoes Organized Into Storage Boxes
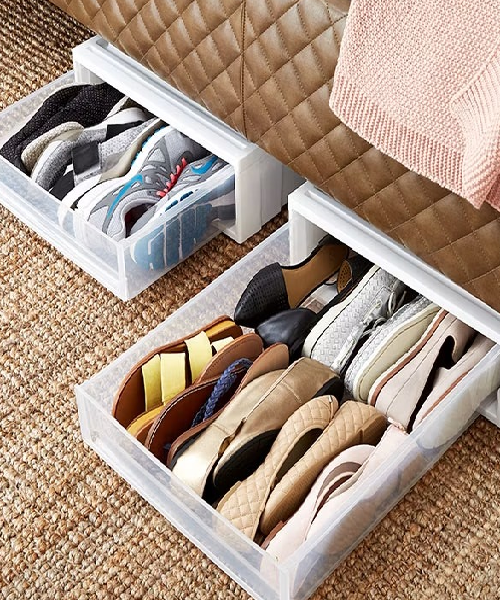
Shoes were scattered. I got clear storage boxes, labeled them by shoe type (daily, work, fancy), and stacked them on the closet floor.
Clear boxes mean I can see what’s inside without opening. Labeled boxes mean I know where things are.
Step 6: Drawer Organization With Dividers
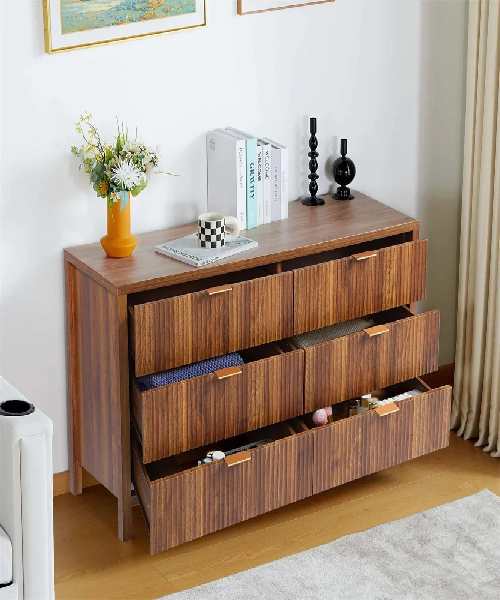
For small items (socks, underwear, accessories), I used drawer dividers to create sections.
With organized drawers, I could actually find things instead of digging through jumbled items.
Step 7: Final Organization and Styling
I hung the clothes in color order (this sounds extra but it makes outfit decisions easier). I organized hangers so they were all consistent. I took a photo of the organized closet for motivation.
Before vs After
Before: Chaos. Piled clothes. Scattered shoes. Only used 20% of wardrobe.
After: Organized categories. Visible clothing. Shoes accessible. Using 80% of wardrobe.
The change in my daily life was noticeable. Getting dressed became easy. I actually wore clothes I’d forgotten I owned. The closet looked like I had it together.
Products Used
- Over-door hanging organizer: Clear pockets for accessories
- Shelf dividers: Wooden, adjustable
- Drawer organizers: Compartments for small items
- Shoe storage boxes: Clear, stackable, labeled
- Tension rods: Metal, expandable, no installation
- Hangers: Consistent style (I replaced all mismatched hangers)
- Baskets: For on-shelf storage of seasonal or special items
- Labels: Labeling everything so it stayed organized
What I Would Do Differently
The hanging space: I’d have added more hanging from the start. I added tension rods later and realized I should have done it initially.
The shoe situation: Clear boxes are good but the boxes take up floor space. A wall-mounted shoe organizer might have been better.
The seasonal storage: I’m storing seasonal clothes in the closet which limits space. A separate storage area would be better for things I don’t use 8 months of the year.
The hanger situation: I should have replaced all mismatched hangers at the start. Consistent hangers make the whole thing look intentional.
What Actually Changed in My Daily Life
- Getting dressed is no longer stressful
- I wear 80% of my wardrobe instead of 20%
- I know what I own
- The closet looks organized (which affects how I feel entering the room)
- I actually enjoy the closet instead of dreading it
FAQs
How do I keep an organized closet organized?
Put things back where they belong immediately. Takes 30 seconds. Letting things pile creates chaos again.
Should I organize by color or by category?
Organize by category first (pants, shirts, dresses). Within categories, color organization helps. Don’t organize by color if the categories don’t make sense.
Is over-the-door organization actually useful?
For accessories, yes. For clothes, no. It’s visible but not functional for garments.
How often should I declutter?
Seasonally is good. When you switch from warm-weather to cold-weather clothes, declutter that category.
Is it worth getting professional organizing help?
If you have the budget, yes. Professional organizers understand systems. If budget is limited, DIY using online guides works.
Final Result
My closet went from “I can’t find anything” to “I know exactly what I have and where it is.”
The financial cost was $150. The time was one Saturday. The impact on daily life is disproportionately large for such a small investment.
Every single morning is easier because the closet is organized. That compounds over time. Over a year, that’s 365 days of easier mornings because of one Saturday of organization.
That’s the entire point of organization: small effort upfront creates ongoing quality-of-life improvement.